

Webhooks
Hear about payments as they happen: add an endpoint in the dashboard, verify what arrives, and test it in the sandbox.
Webhooks send signed events to your server when a payment changes, such as when it succeeds or settles. Your server does not need to keep requesting the payment status.
1. Add an endpoint
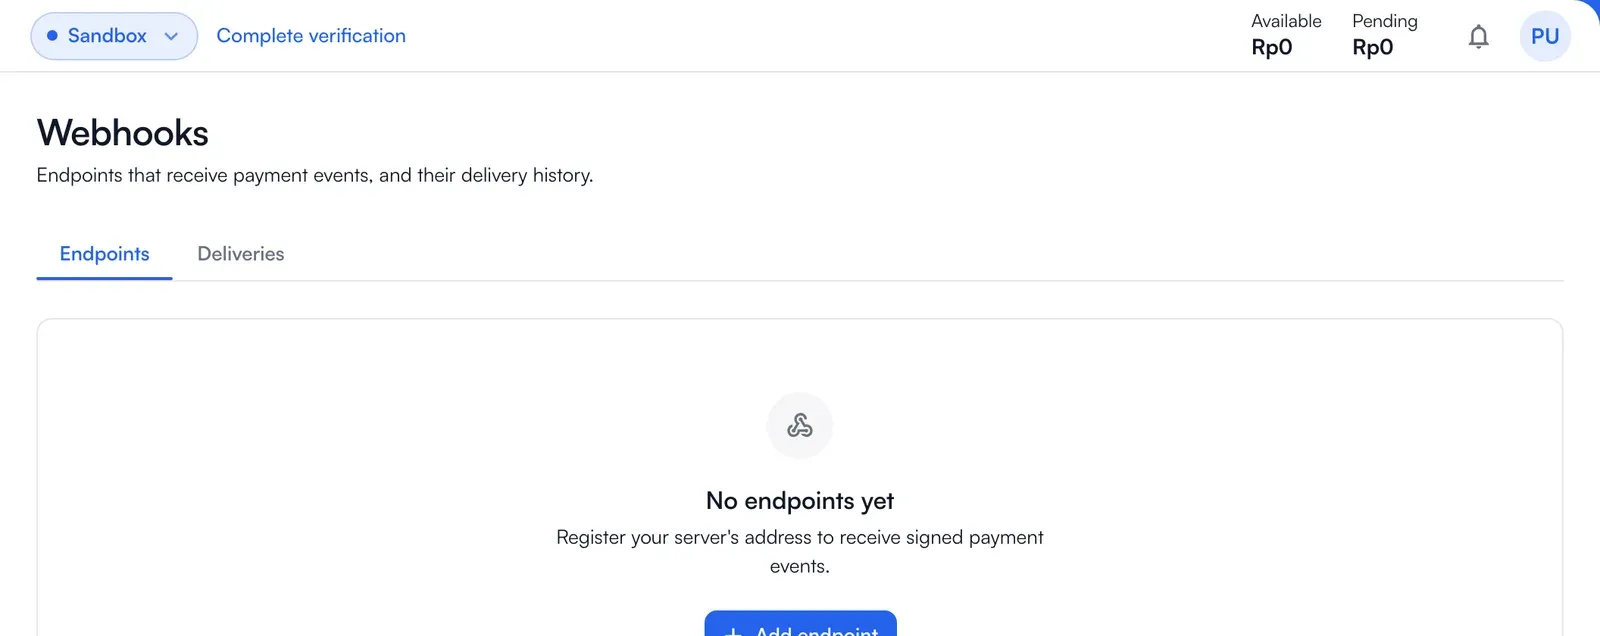
Section titled “1. Add an endpoint”In the dashboard choose Developer Tools → Webhooks → Add endpoint, in the environment you are working in.
-
The address must be public HTTPS. From your laptop, use a tunnel.
-
Pick the events you want, or leave the list empty for all of them.
-
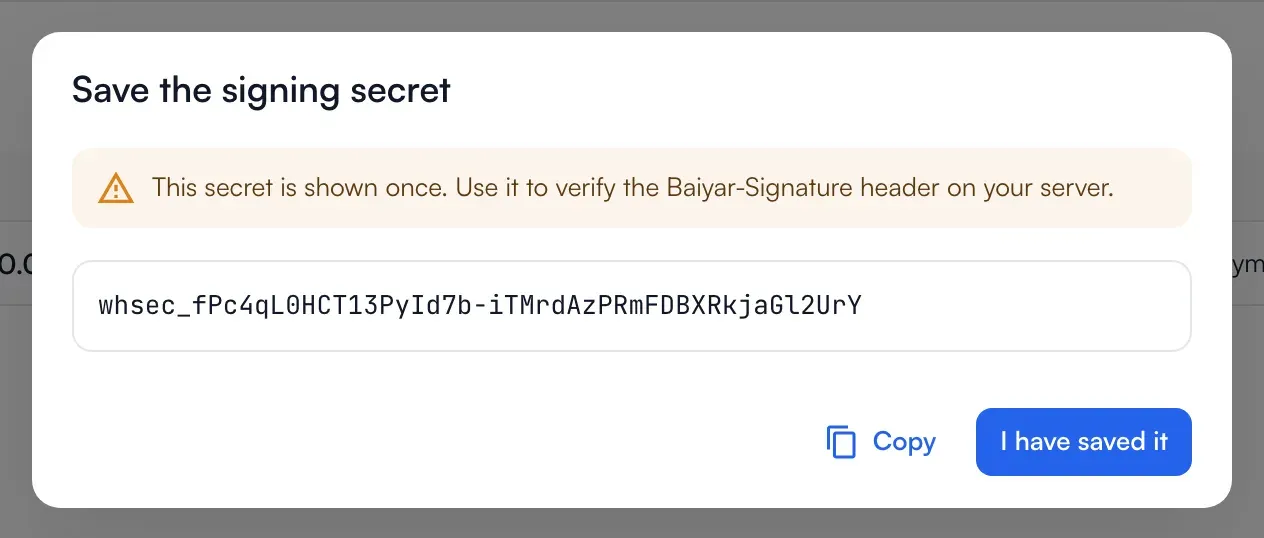
You get a signing secret (
whsec_…) once. Store it like a password.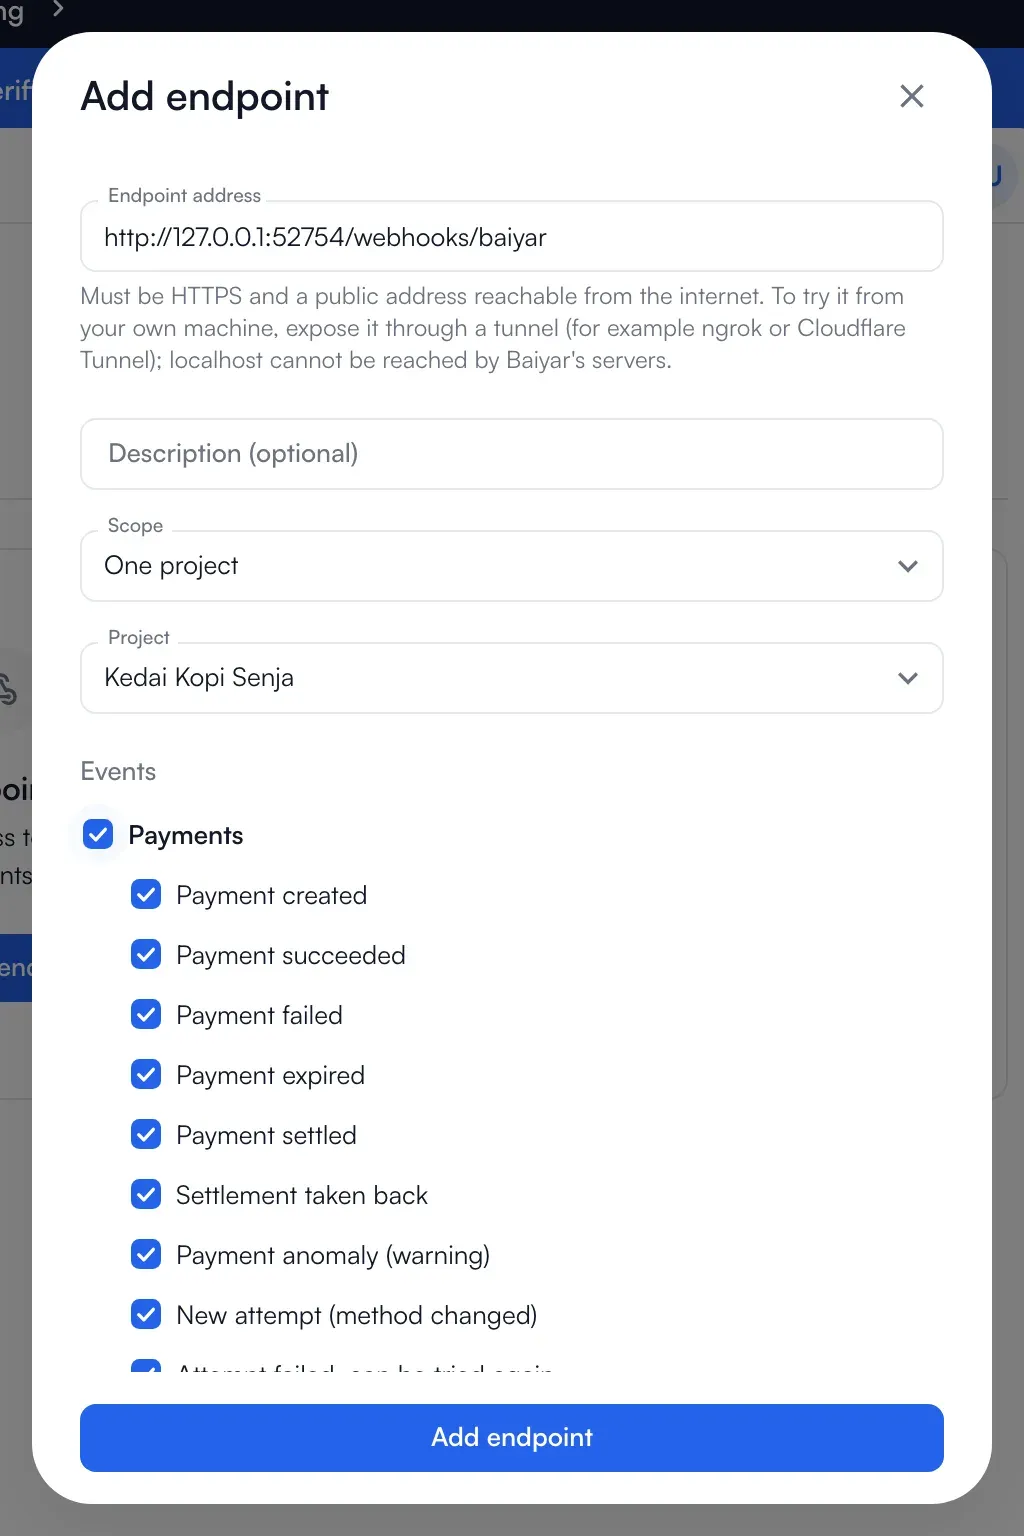
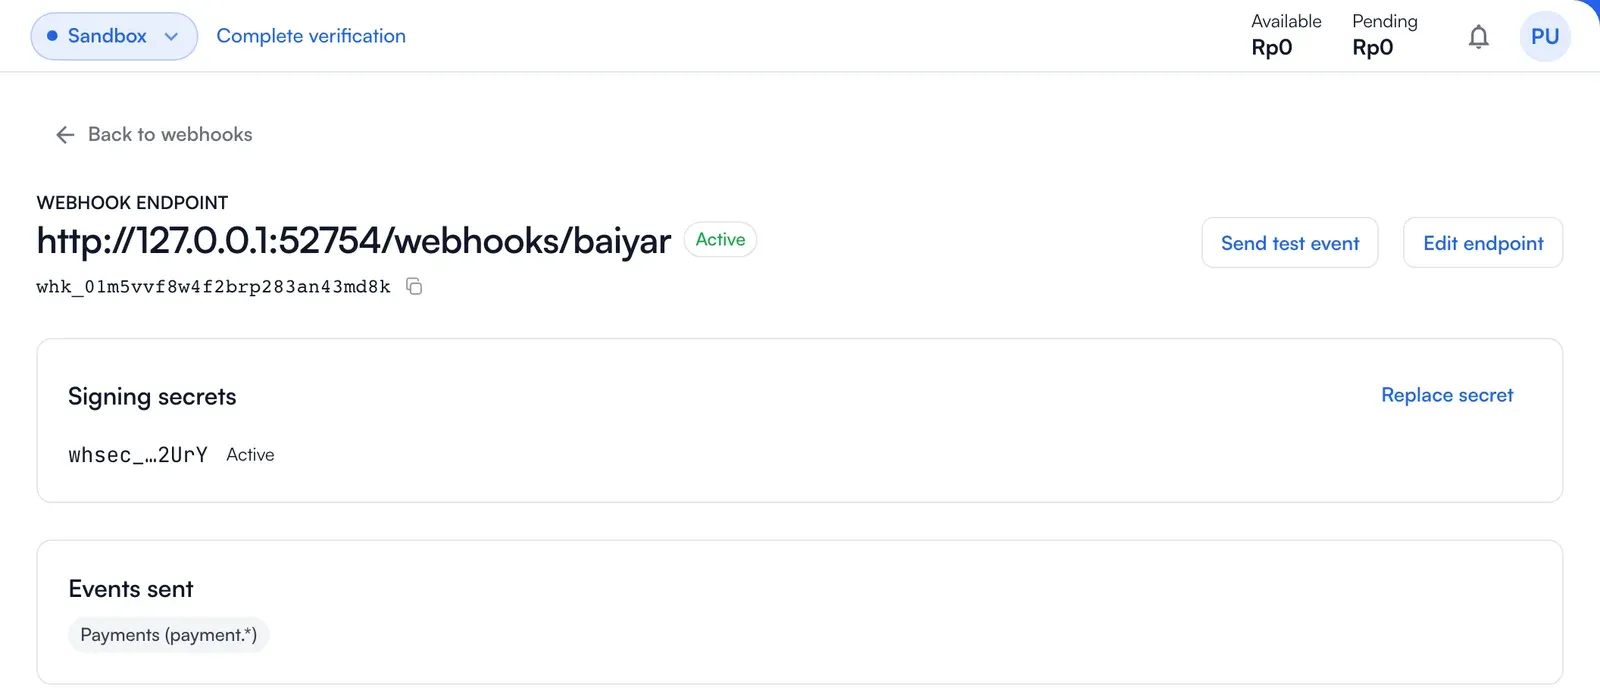
An endpoint belongs to one project or to the whole merchant, and each scope can have up to five. Endpoints are per environment: the ones you add in the sandbox do not receive live events.
2. Receive and verify
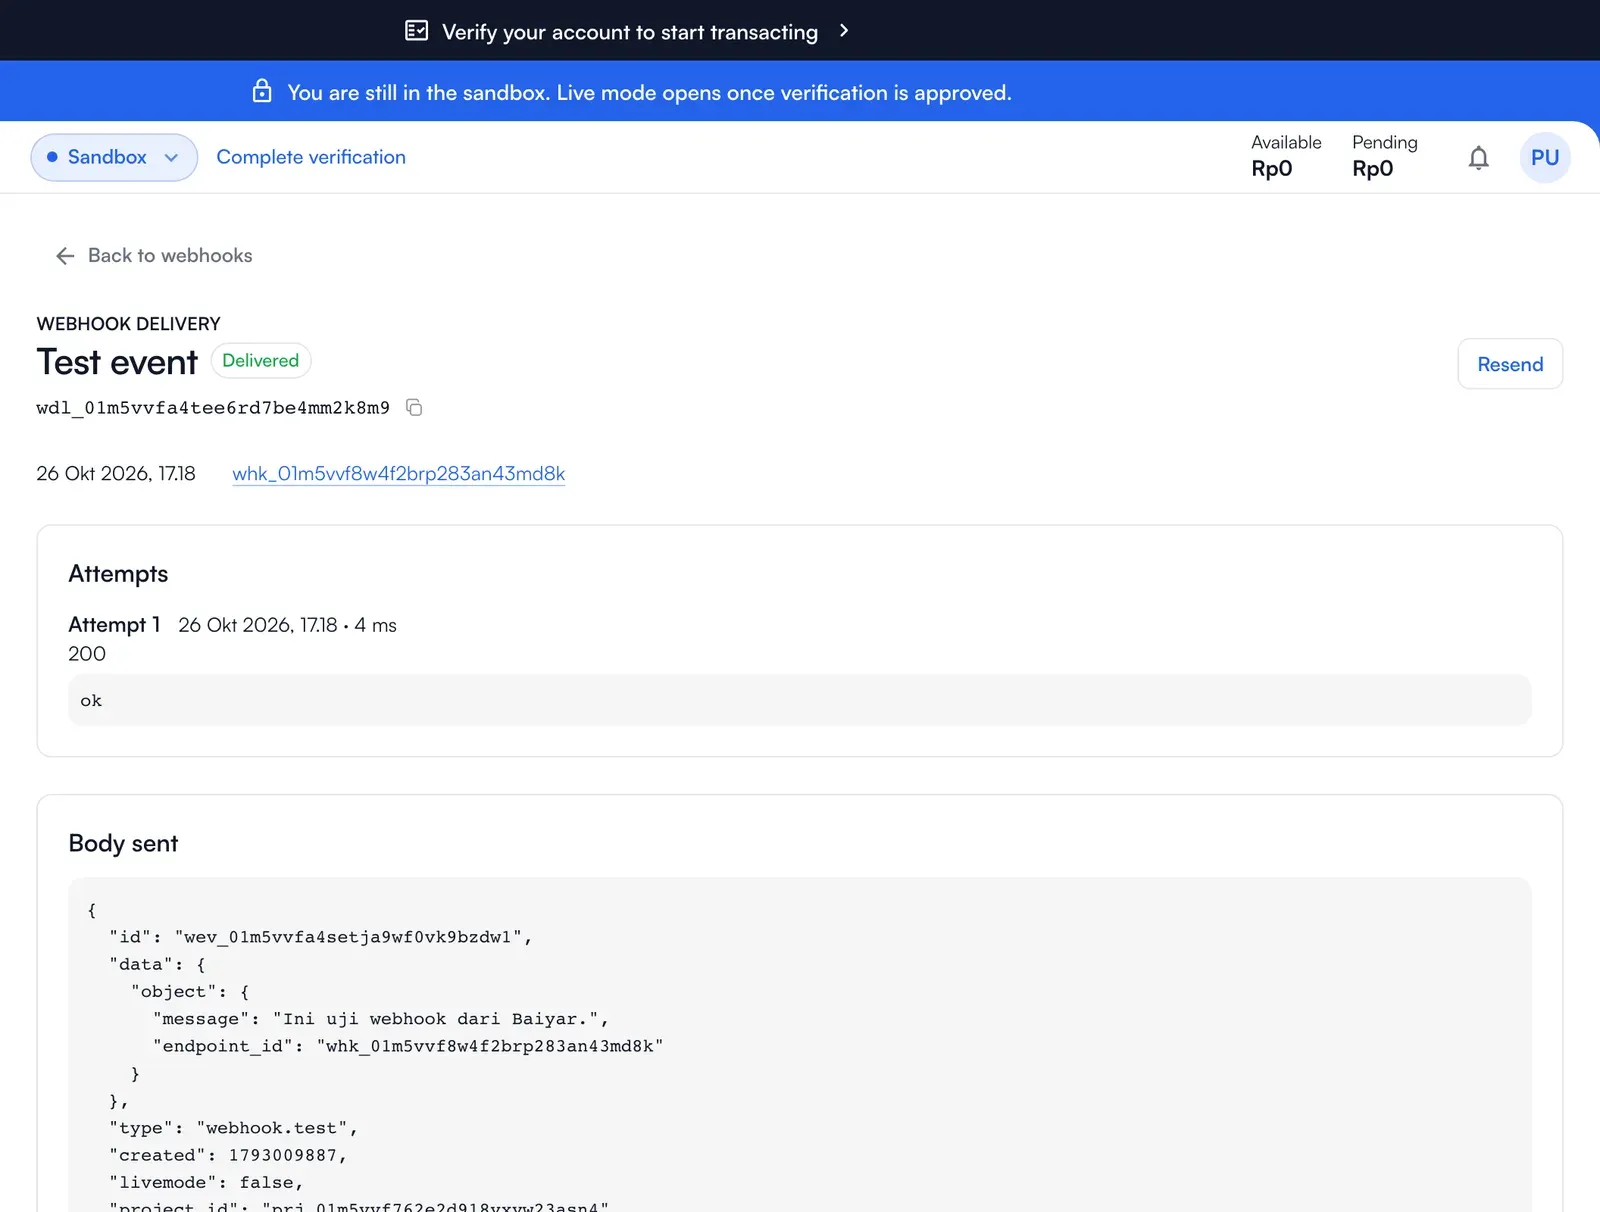
Section titled “2. Receive and verify”Baiyar sends a POST with a JSON body. Check the Baiyar-Signature header against the raw body before you trust it (Verify signatures, with code for Node.js and Python), then answer with a 2xx within 10 seconds.
3. Handle duplicate and out-of-order events
Section titled “3. Handle duplicate and out-of-order events”Events can arrive twice or out of order. Ignore an event id you have seen, and read the payment’s current status instead of assuming a sequence. See Retries, order and duplicates.
4. Test it
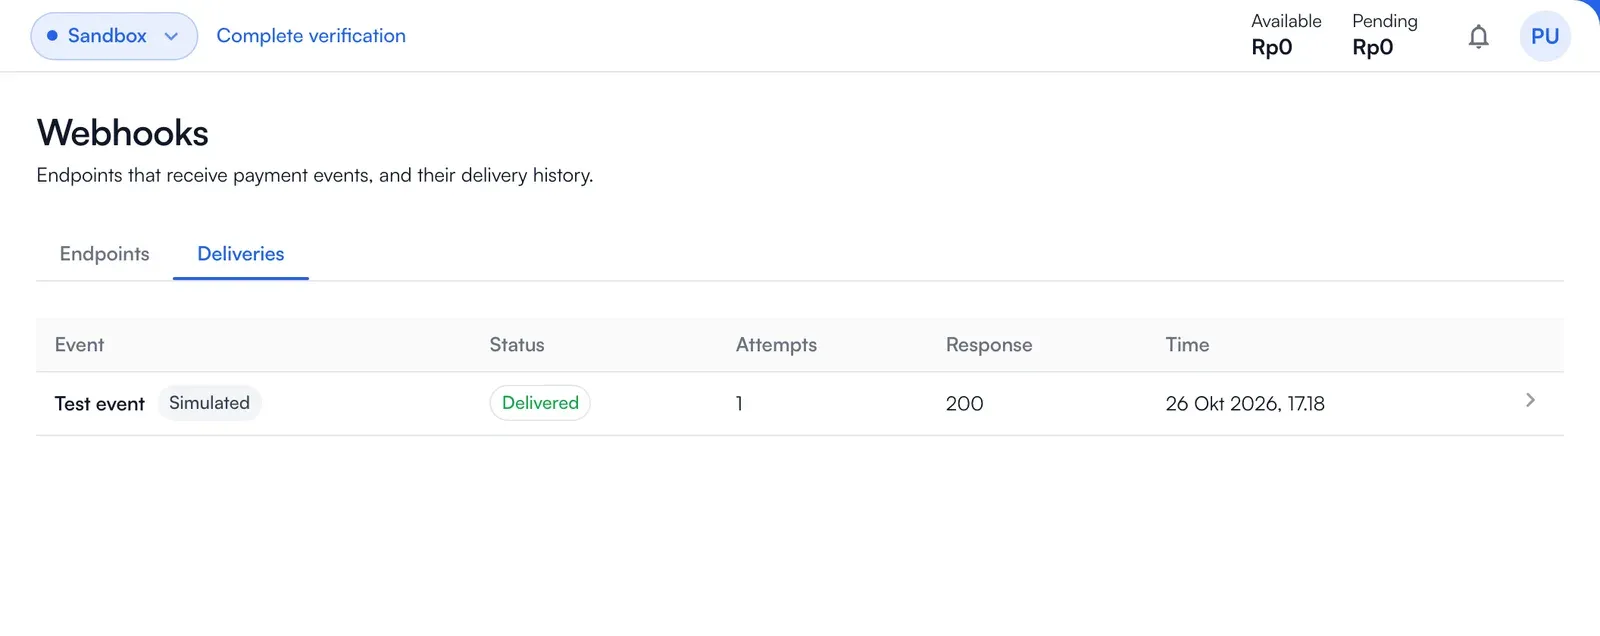
Section titled “4. Test it”Switch to the sandbox and open Developer Tools → Simulations. Send test event sends one webhook.test event. Payment scenarios send success, failure, expiry, out-of-order or duplicate events to your endpoint. The Webhooks page records each delivery and your server’s response. See Test payments.
Webhook reference
Section titled “Webhook reference”- Webhooks overview: endpoints and what a delivery looks like.
- Verify signatures, Retries, order and duplicates, Event log.
- Event reference: every event type.