
Create an Account
Sign up
Section titled “Sign up”Go to app.baiyar.com/register. The form only creates your user account — no company or business information is collected here; that comes right after, in onboarding.
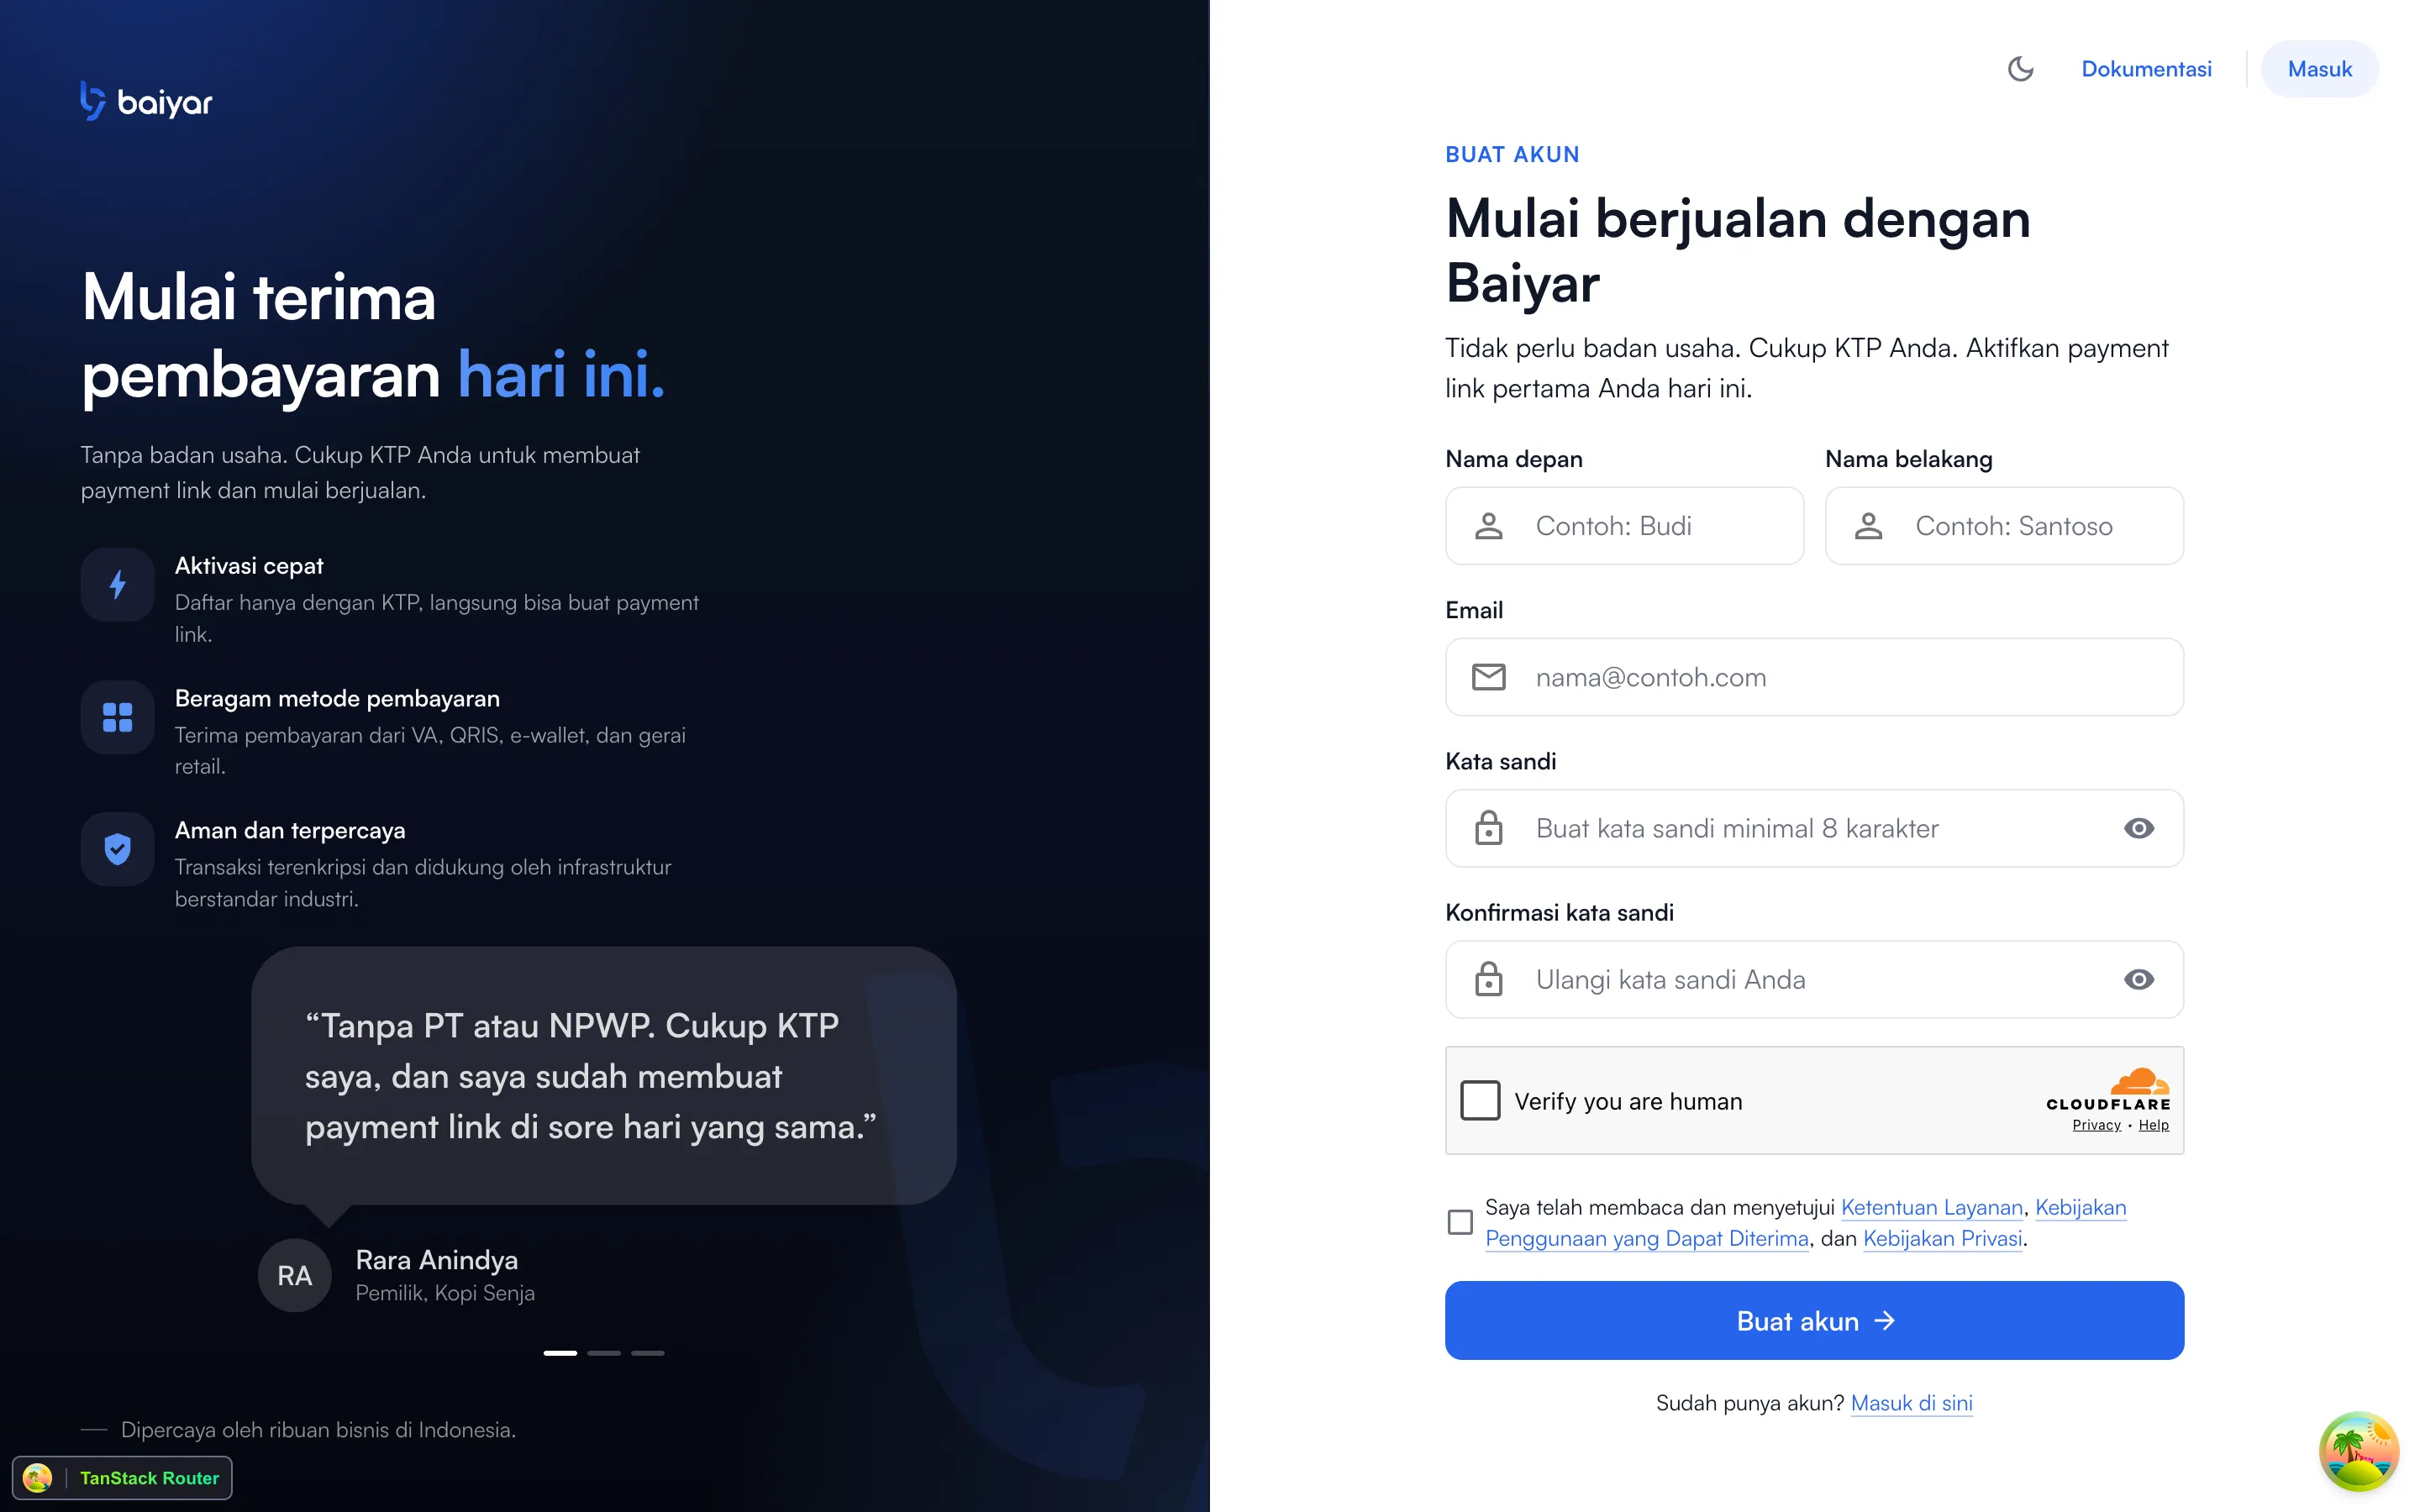
Fields
Section titled “Fields”| Field | Notes |
|---|---|
| First name / Last name | Required |
| Required — this becomes your login and where verification/notifications go | |
| Password | At least 12 characters, with a lowercase letter, an uppercase letter, and a digit. The form checks this live as you type |
| Confirm password | Must match Password exactly |
| “Verify you are human” | A Cloudflare Turnstile challenge — required to submit |
| Terms checkbox | Confirms you agree to the Terms of Service, Acceptable Use Policy, and Privacy Policy |
After you submit
Section titled “After you submit”You’ll see a “check your email” screen instead of being logged in right away — your account isn’t active until you verify your email.
Sign-up attempts are rate-limited per IP address and per email, on top of the Turnstile check.
Verify your email
Section titled “Verify your email”Baiyar emails you a verification link, valid for 24 hours. Opening it logs you in (sets your session) and:
- Takes you straight to the dashboard if your account is already fully set up, or
- Takes you to onboarding if it isn’t yet (a brand-new account always needs this step).
Onboarding: name your account
Section titled “Onboarding: name your account”Onboarding asks for one thing: a name for your account (pre-filled from your name, but you can change it — this becomes your merchant account, the top-level entity everything else in Baiyar hangs off of). Submitting it creates, all at once:
- Your merchant account.
- You, as its owner.
- A sandbox environment, active immediately.
- A production environment, restricted until you complete Business Verification.
What’s next
Section titled “What’s next”Signing up does not create a project — that’s a separate step. Once onboarding is done, create a project from the dashboard to get a sandbox API key and start integrating; see the Payments Quickstart. To accept real payments, continue to Business Verification and then Go Live.