
Create a Project
Overview
Section titled “Overview”A project is what an API key, a payment link, or a transaction belongs to — you need at least one before you can integrate anything. Projects don’t require Business Verification to use in sandbox; that’s only needed before a project can go to production.
Create a project
Section titled “Create a project”Go to Proyek (Projects) in the dashboard sidebar and click New project.
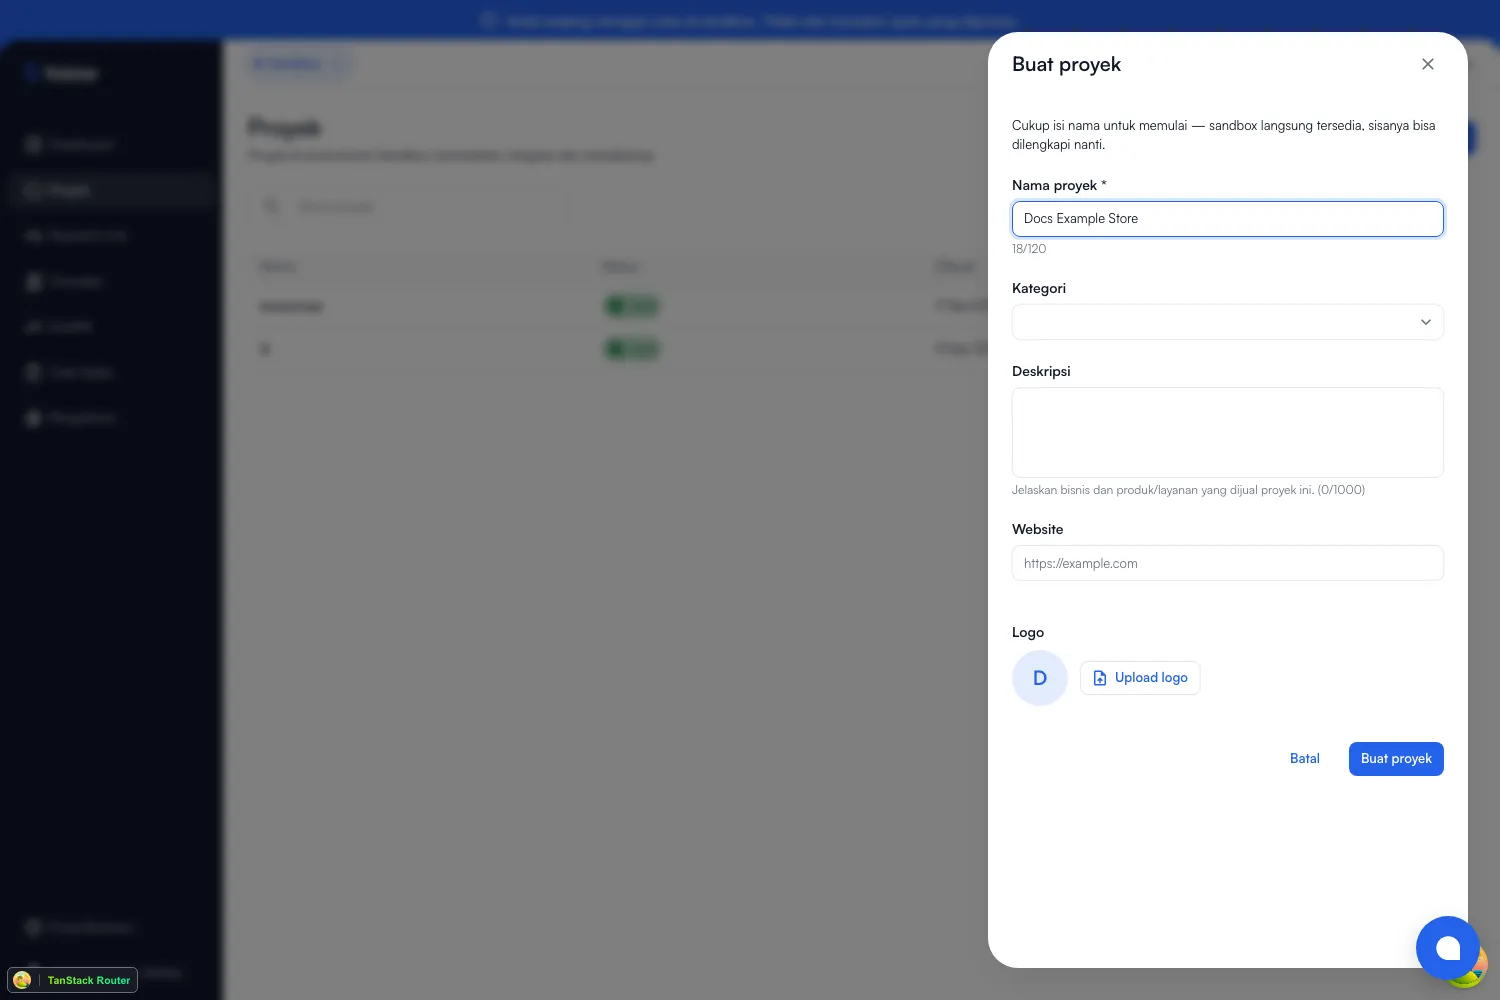
Only the name is required — sandbox is available immediately, and everything else can be filled in later.
| Field | Required | Notes |
|---|---|---|
| Project name | Yes | Up to 120 characters |
| Category | No | Food & Beverage, Retail & E-commerce, Services, Digital & SaaS, Education, Healthcare, Donation & Nonprofit, or Other |
| Description | No | Up to 1000 characters — describes the business and what the project sells |
| Website | No | Your business’s URL |
| Logo | No | PNG, JPEG, or WebP, up to 2MB |
The project page
Section titled “The project page”Creating a project takes you straight to its page, with five tabs: Settings, API Key, Payment links, Payment channels, and Notifications. Category, description, website, and the rest stay editable from Settings afterward — see Project Settings for what’s there, including the production readiness checklist.
Create your first API key
Section titled “Create your first API key”From the API Key tab:
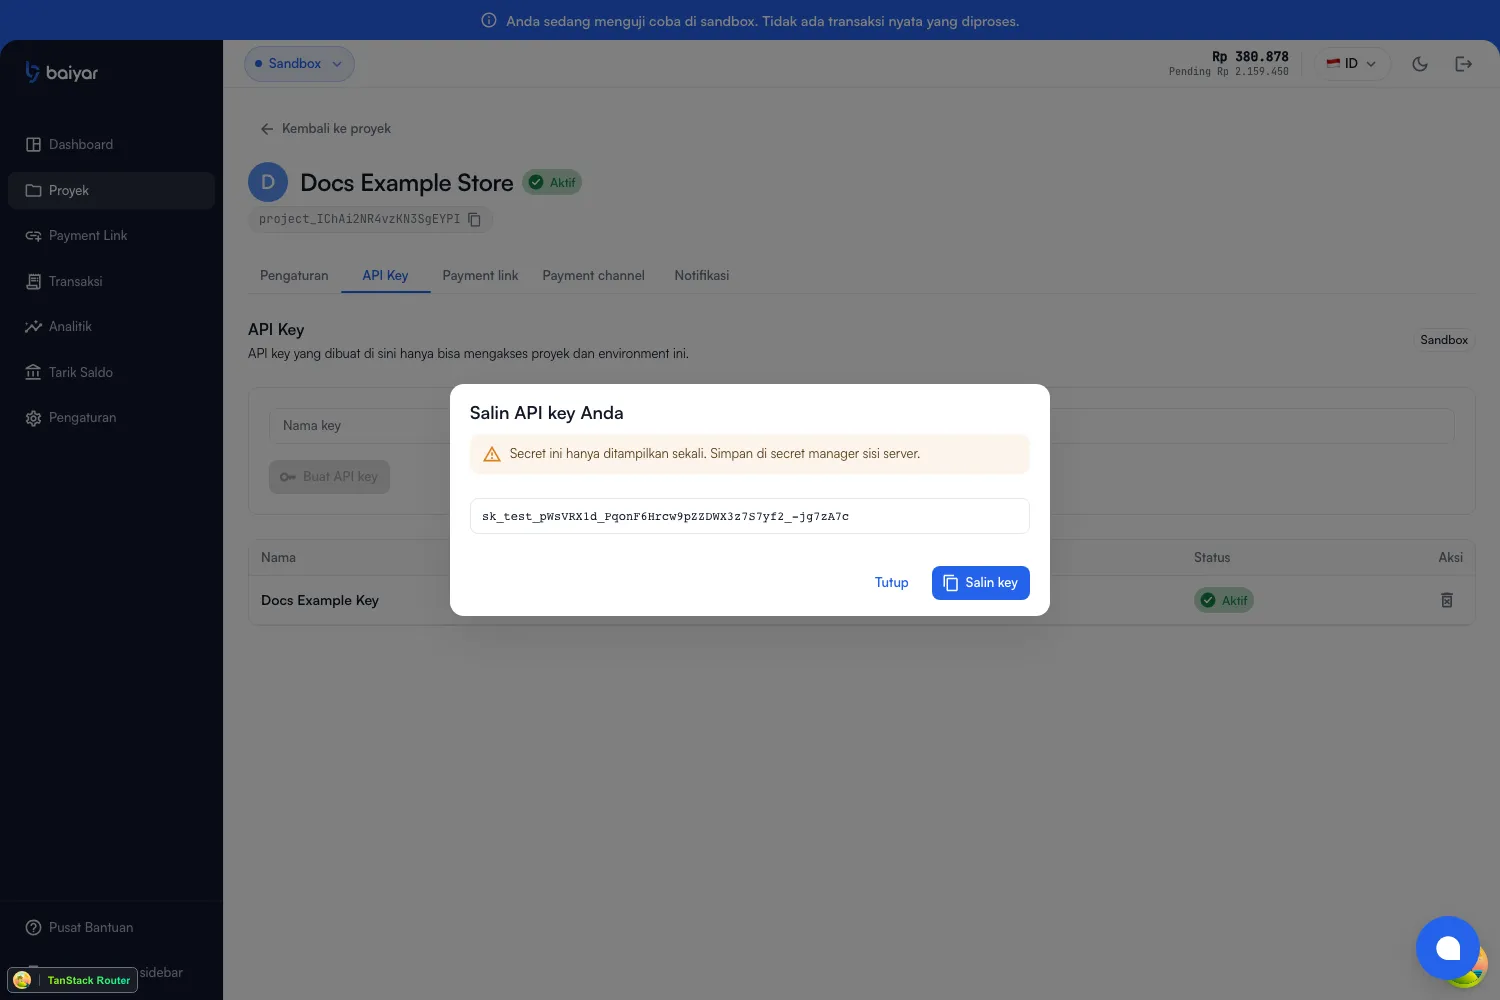
Name the key (for your own reference) and create it. The secret is shown once — copy it immediately. This key only works for this project and the environment (sandbox or production) it was created in — see Authentication for how to use it.
Enable payment channels
Section titled “Enable payment channels”From the Payment channels tab, toggle which methods (QRIS and individual VA banks) this project accepts:
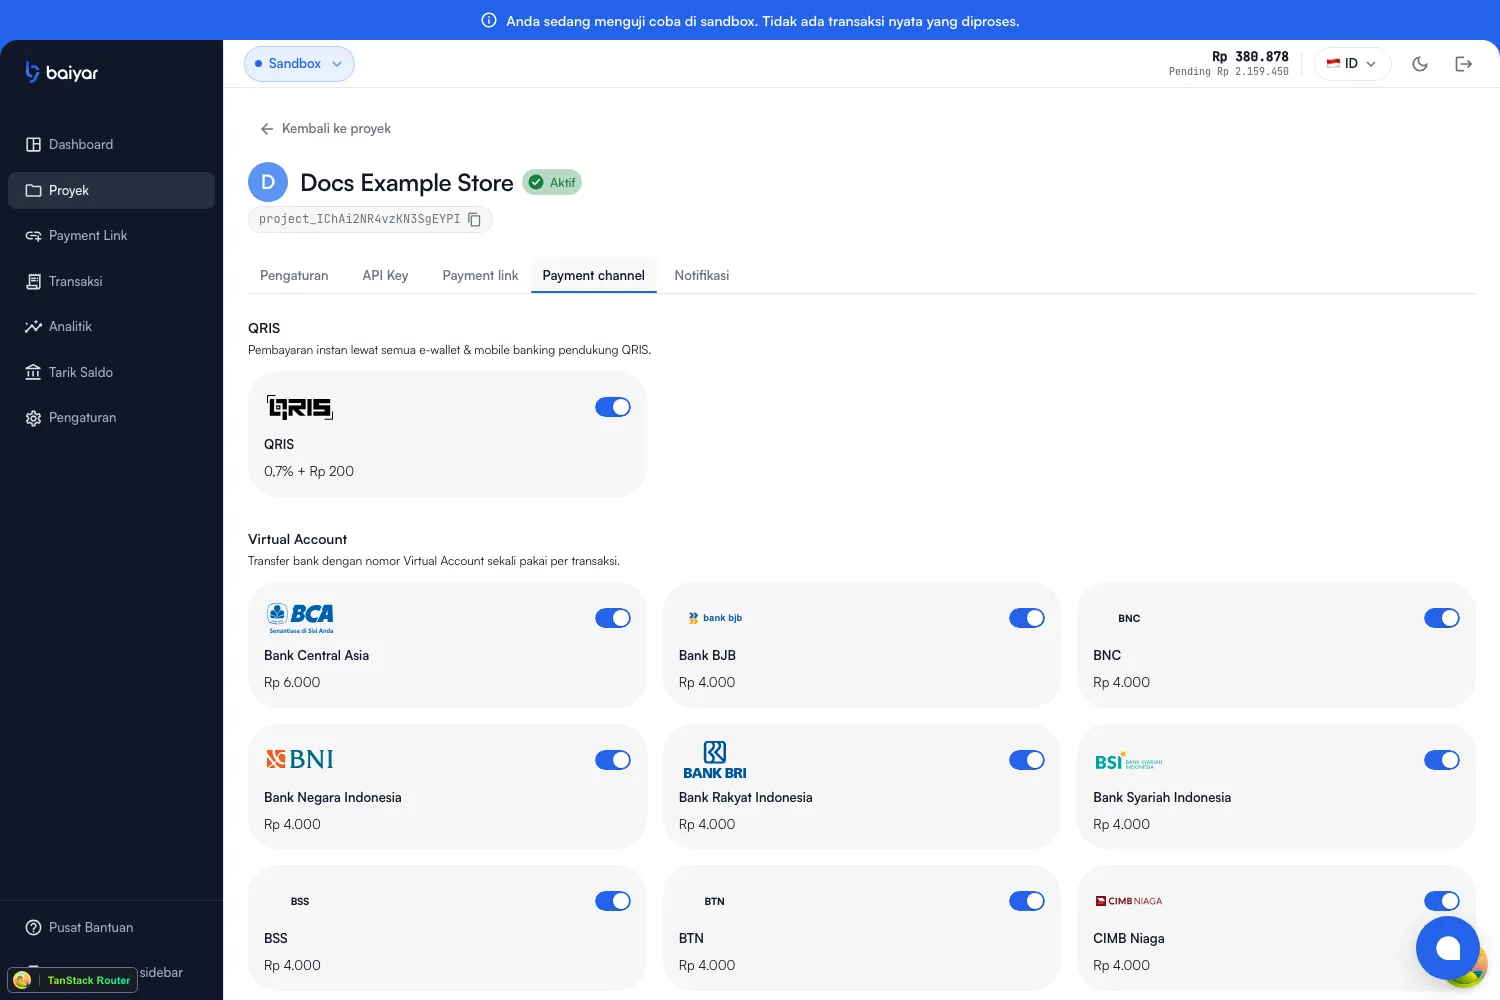
These become the project’s default allowed_payment_methods — the set a
payment link or
direct payment falls back to when you
don’t specify methods explicitly. See
Payment Methods for what each method
and fee means.
Next steps
Section titled “Next steps”- Payments Quickstart — create your first payment link with this project’s API key.
- Payment Links guide and Direct Payments guide — the two ways to accept a payment.